The Story Behind This Recipe
I will never forget the first time I watched a stack of soufflé pancakes arrive at a tiny café counter in Shibuya. It was my third morning in Tokyo, and I had been exploring bakeries and pâtisseries across the city with the kind of obsessive focus only a pastry chef can understand. The server placed the plate down gently, almost reverently, and the pancakes wobbled. They actually wobbled, like a living thing breathing on the plate. I pressed the top one with the back of my spoon and it bounced back slowly, as if made of the softest cloud. I knew right then that I had to understand this technique completely.
What struck me most was how familiar the science felt. After years of training at ENSP Yssingeaux and working the pastry stations at Le Cinq in Paris, I had whipped thousands of meringues. I had coaxed soufflés to rise in temperamental ovens and learned to read the surface of beaten egg whites the way a sailor reads the sea. The Japanese soufflé pancake uses every one of those skills — the precision of the meringue, the gentle fold, the patience of low-and-slow cooking — but applies them to something so humble and joyful that it almost made me laugh. It was everything I love about French technique married to the playful, perfectionist spirit of Japanese cooking.
Back in my Lyon kitchen, I spent weeks adapting the recipe. I tested different flours, experimented with the number of egg whites, adjusted temperatures degree by degree. The version you see here is the one that finally made me set down my spatula and smile — tall, impossibly fluffy, with a custard-soft interior that melts the moment it touches your tongue. It is, I believe, the kind of recipe that reminds you why cooking should always feel a little bit like magic.
Before You Start
- Separate your eggs while cold, then warm them up. Eggs separate cleanly when cold, but egg whites whip to greater volume at room temperature. Separate them straight from the fridge, then let the whites sit for 15-20 minutes before whipping.
- Use a non-stick pan with a lid. You need a flat, non-stick surface and a tight-fitting lid to trap steam. A 10-inch pan works well for cooking two pancakes at a time.
- Keep the heat as low as possible. This is not a recipe you can rush. The lowest setting on your burner is what you want. If your stovetop runs hot, consider using a heat diffuser.
- Have everything measured and ready before you start. Once the meringue is folded in, the batter begins to deflate. You want to move from mixing bowl to pan without any delay.
- Do not open the lid while cooking. Every time you lift the lid, you release the steam that is helping these pancakes cook through and rise. Resist the temptation for at least the first 6 minutes per side.
Instructions
Step 1: Prepare the Egg Yolk Batter
In a medium mixing bowl, whisk together the 3 egg yolks, whole milk, and vanilla extract until smooth and uniform in color, about 30 seconds. Sift the cake flour and baking powder directly over the egg yolk mixture. Whisk gently until you have a smooth, lump-free batter. It will be quite thick — almost paste-like. This is exactly what you want. Set the bowl aside.
Step 2: Whip the Meringue
Place the 3 egg whites in a large, spotlessly clean mixing bowl. Any trace of grease or yolk will prevent the whites from whipping properly. Using a hand mixer or stand mixer fitted with the whisk attachment, beat the egg whites on medium speed until foamy, about 1 minute. Add the cream of tartar and pinch of salt. Continue beating on medium-high speed, adding the granulated sugar one tablespoon at a time, waiting about 20 seconds between each addition.
Beat until you reach stiff peaks — when you lift the whisk, the meringue should hold a firm, glossy point that stands straight up without drooping. The meringue should look smooth and satiny, like marshmallow cream. This takes about 3-4 minutes total. Do not overbeat. If the meringue looks dry or grainy, you have gone too far and the pancakes will be dense.
Step 3: Fold the Meringue into the Batter
Take about one-third of the meringue and add it to the egg yolk batter. Whisk it in vigorously — yes, vigorously. This first addition is meant to lighten the batter and it is okay to deflate it. Now add the remaining meringue in two additions, using a large rubber spatula. Cut down through the center of the bowl, sweep along the bottom, and fold up and over the top. Rotate the bowl a quarter turn and repeat. Continue until no white streaks remain, but stop the moment the batter is uniform. The final batter should be airy, fluffy, and hold its shape when scooped — like soft-serve ice cream. You should be able to pile it high without it spreading.
Step 4: Heat the Pan
Place your non-stick pan over the lowest heat setting on your stove. Let it warm for 2-3 minutes. Lightly grease the surface with a thin layer of neutral oil or butter using a paper towel — you want the barest coating.
To test if the pan is ready, flick a tiny drop of water onto the surface. It should sizzle gently and evaporate within a few seconds. If it evaporates instantly and violently, the pan is too hot — remove it from the heat for 30 seconds and try again. You are aiming for a surface temperature of approximately 300-325°F (150-163°C).
Step 5: Cook the First Side
Using a large spoon or ice cream scoop, pile the batter onto the pan in tall mounds, about 3 inches in diameter. You should be able to fit 2-3 pancakes per batch depending on your pan size. The batter should hold its domed shape. If it spreads flat immediately, your meringue was underwhipped or overfolded.
Add a second scoop of batter on top of each mound to build height. Drizzle 1 tablespoon of water around the pancakes (not on them) into the empty space on the pan. Immediately cover with the lid. Cook on the lowest heat for 6-7 minutes. Do not lift the lid during this time. The steam trapped inside is cooking the pancakes from all sides and helping them rise.
Step 6: Flip and Cook the Second Side
After 6-7 minutes, remove the lid. The pancakes should have risen noticeably and the bottoms should be a light, even golden brown. Using a thin, wide spatula, gently slide it completely under a pancake and flip in one confident motion. Do not hesitate or go halfway — commit to the flip. The pancakes are delicate but more resilient than they look.
Add another tablespoon of water to the pan for steam. Cover again and cook for an additional 5-6 minutes on the lowest heat. The pancakes are done when both sides are evenly golden and the center springs back slowly when gently pressed with a fingertip. If your finger leaves a permanent dent, give them another minute.
Step 7: Serve Immediately
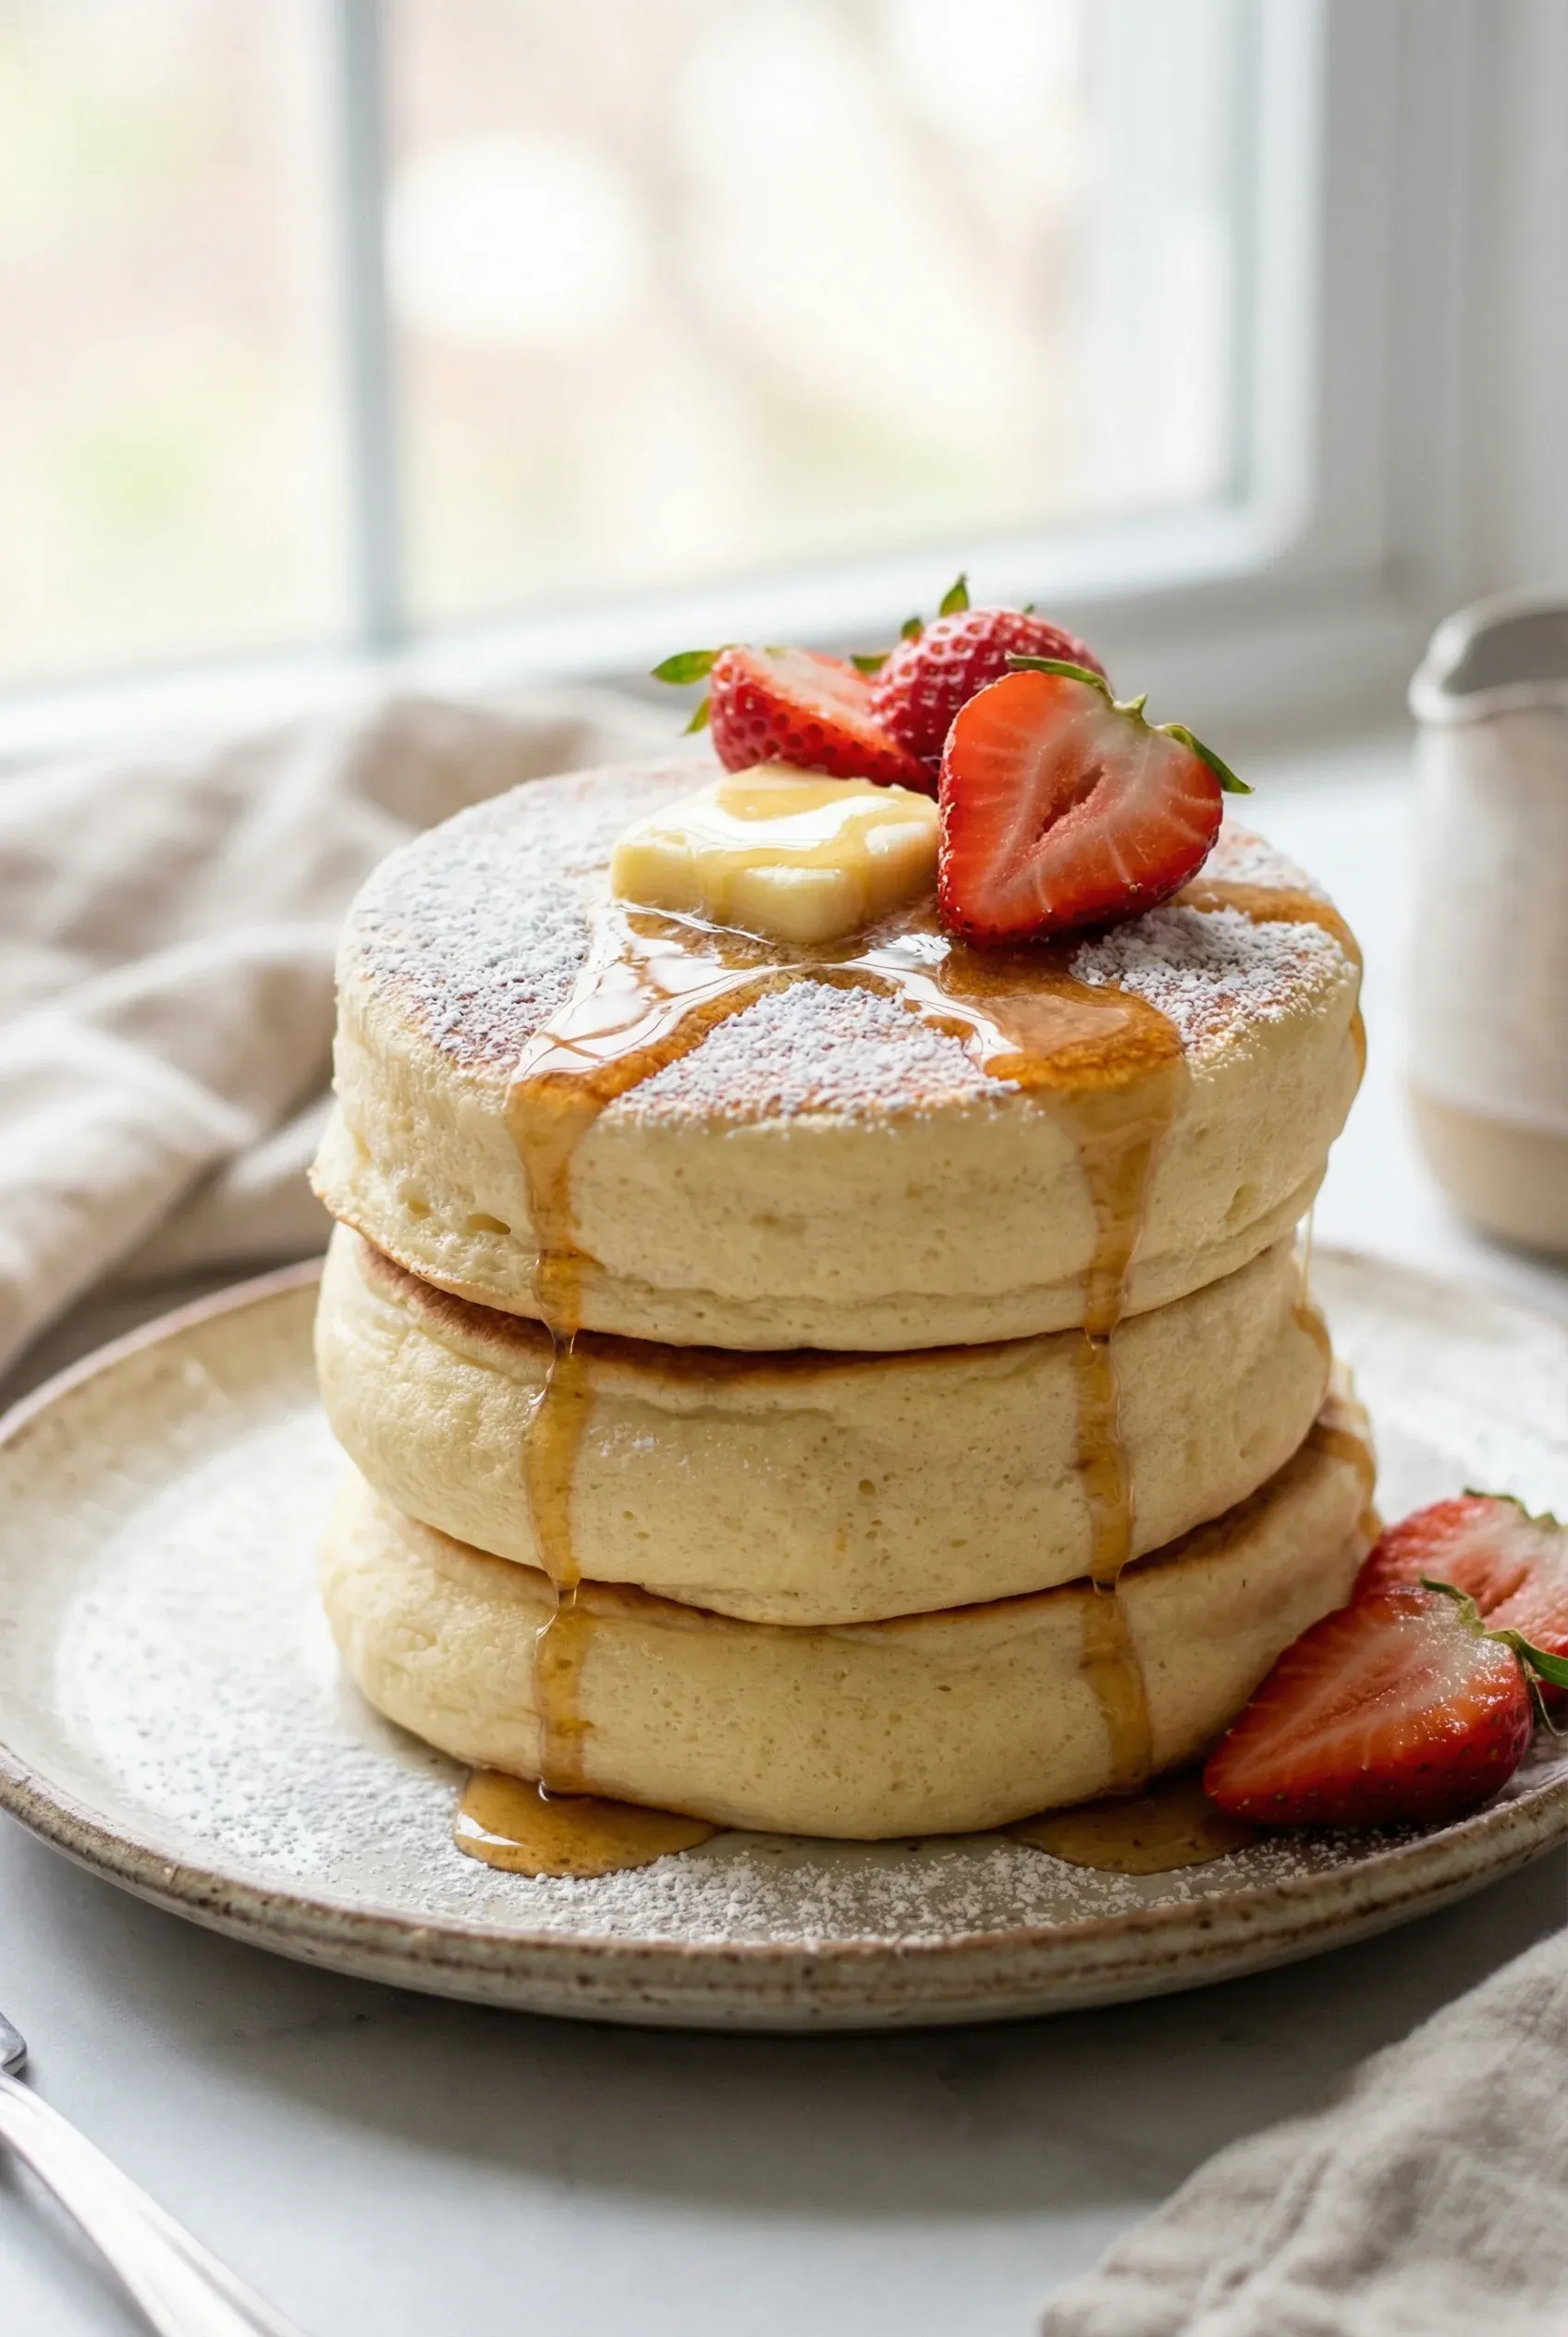
Transfer the pancakes to plates without delay. Stack them two or three high. Dust generously with powdered sugar through a fine-mesh sieve. Top with a pat of cold unsalted butter, arrange sliced fresh strawberries around and on top, and drizzle with pure maple syrup. Serve within 60 seconds of leaving the pan — these pancakes wait for no one. They will begin to deflate as the hot air inside cools, so get them to the table and enjoy the wobble while it lasts.
Ingredient Substitutions
| Ingredient | Substitute | Notes |
|---|---|---|
| Cake flour | All-purpose flour minus 2 tbsp, replaced with 2 tbsp cornstarch | Sift together twice. Cake flour gives the softest crumb, but this blend works well. |
| Cream of tartar | 1/2 teaspoon lemon juice or white vinegar | Add with the first tablespoon of sugar. Slightly less effective but still stabilizes the meringue. |
| Whole milk | Oat milk or almond milk | Use unsweetened varieties. The flavor difference is minimal in the final pancake. |
| Granulated sugar | Caster sugar (superfine) | Dissolves faster into the meringue — actually an upgrade if you have it. |
| Vanilla extract | 1/2 teaspoon vanilla bean paste | Gives a more intense flavor and beautiful speckles. |
| Butter (for serving) | Coconut oil or whipped cream | Coconut oil adds tropical richness; whipped cream melts beautifully into the warm pancakes. |
| Maple syrup | Honey, agave, or fruit compote | A warm berry compote is especially lovely in summer. |
| Strawberries | Blueberries, bananas, or sliced peaches | Use whatever is ripe and in season. |
Chef’s Tips
- Room temperature whites are non-negotiable. Cold egg whites will whip, but they will not reach the same volume. Those extra 15-20 minutes of resting at room temperature can mean the difference between pancakes that rise 3 inches and pancakes that rise 2 inches. In my kitchen, that inch matters.
- Invest in a good hand mixer. A whisk and arm strength will technically work, but you will be exhausted and your meringue will likely be underwhipped. A hand mixer gives you consistent, reliable stiff peaks in under 4 minutes.
- The water-steam method is everything. Do not skip adding water to the pan and covering with a lid. Without steam, the pancakes cook only from the bottom, leaving the tops raw and the centers gooey. The steam cooks them evenly and helps them puff to their maximum height.
- Resist the urge to turn up the heat. Higher heat will brown the outside before the inside is cooked, giving you pancakes that look done but are raw in the center. Patience on the lowest setting gives you even color and a fully set, custard-like interior.
- Use ring molds if your batter spreads. If you find the batter does not hold its shape well, lightly greased 3.5-inch ring molds placed on the pan will keep the pancakes perfectly round and tall while they cook.
- Practice makes perfect. Your first batch may not be Instagram-worthy. That is completely normal. By your second or third attempt, you will have a feel for your specific stove, your pan, and the rhythm of the recipe. Every professional pastry chef I know made dozens of failed soufflés before they made a perfect one.
Meal Prep & Storage
- Best served fresh. These pancakes are at their absolute best within the first 2 minutes of leaving the pan. Unlike regular pancakes, they are not great candidates for making ahead.
- Short-term storage. If you must save leftovers, place them in a single layer in an airtight container in the fridge for up to 1 day. They will deflate and lose their signature wobble.
- Reheating. Warm leftover pancakes in a 300°F (150°C) oven for 5-7 minutes. They will not puff back up to their original height, but they will still taste delicious — more like a very soft, fluffy regular pancake.
- Prep ahead strategy. You can measure and sift your dry ingredients the night before and store them covered. You can also separate your eggs and refrigerate the whites overnight in a covered bowl. This cuts your morning prep time to about 10 minutes.
- Freezing is not recommended. The texture changes dramatically after freezing and thawing. The delicate air structure collapses and cannot be restored.
Pairing Suggestions
- Matcha latte. The earthy, slightly bitter matcha is the classic Japanese pairing and cuts through the sweetness beautifully. Use ceremonial grade matcha whisked with steamed oat milk.
- Fresh fruit platter. A side of mixed seasonal berries, sliced kiwi, and mandarin segments adds brightness and a fresh contrast to the rich, eggy pancakes.
- Crispy bacon or breakfast sausage. The savory-sweet combination is irresistible. The salt from the bacon amplifies the delicate sweetness of the pancakes.
- Cold-brew coffee. A glass of smooth, low-acid cold brew with a splash of cream is a wonderful pairing, especially on warm mornings.
Frequently Asked Questions
Why did my pancakes come out flat? The most common reason is an underwhipped meringue. Your egg whites must reach true stiff peaks — glossy, firm, and holding their shape completely. The second most common cause is overfolding the batter, which knocks out the air you just whipped in. Fold gently and stop the moment no white streaks remain.
Can I make these in a regular frying pan without a lid? You can improvise by using a large pot lid, a baking sheet, or even a piece of aluminum foil pressed over the top. The key is trapping steam. Without any cover at all, the tops of the pancakes will stay raw while the bottoms overcook.
Why are my pancakes browning too quickly on the outside but still raw inside? Your heat is too high. These pancakes require the absolute lowest setting on your stovetop. If your burner does not go low enough, try using a heat diffuser (a flat metal disc placed between the pan and the flame) to distribute and reduce the heat.
Can I add flavors to the batter? Absolutely. Add 1 tablespoon of matcha powder or cocoa powder to the egg yolk batter for a flavored version. You can also fold in a tablespoon of lemon or yuzu zest for a citrus variation. Avoid adding heavy mix-ins like chocolate chips or fruit pieces — they will weigh down the batter and prevent proper rising.
How many pancakes does this recipe make? This recipe makes approximately 6-8 pancakes, depending on how large you make them. At two to three pancakes per serving, it feeds 3-4 people comfortably. You will likely need to cook in 2-3 batches since most pans can only hold 2-3 pancakes at a time.
Do I need a special Japanese soufflé pancake pan? No. Any non-stick pan with a flat bottom and a tight-fitting lid works well. Some specialty shops sell dedicated soufflé pancake pans with individual round molds built in, but they are not necessary. A standard 10-inch non-stick skillet produces excellent results.